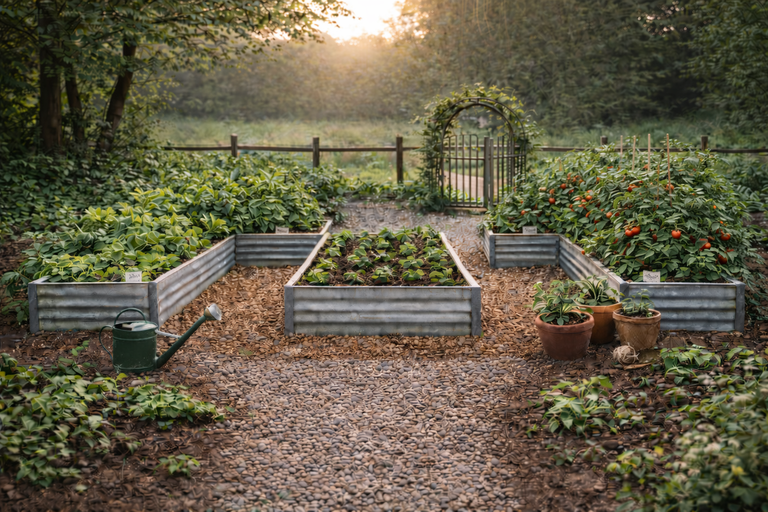
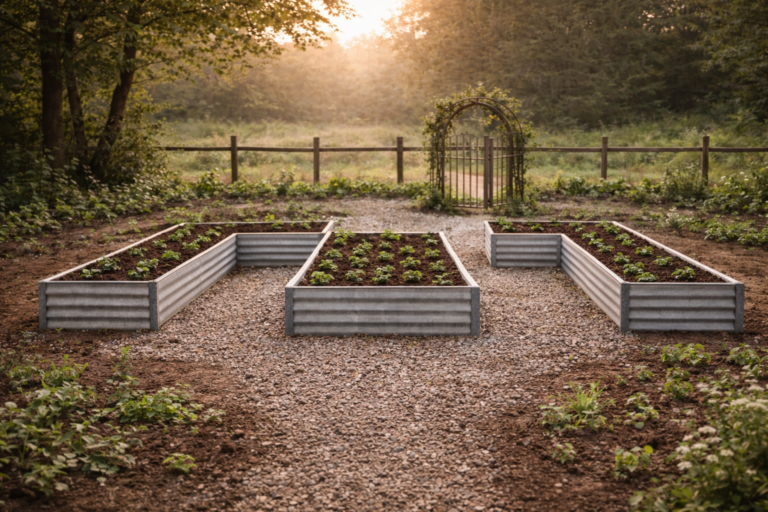
Raised Bed Gardening Part 1: Garden Planning & Seed Starting
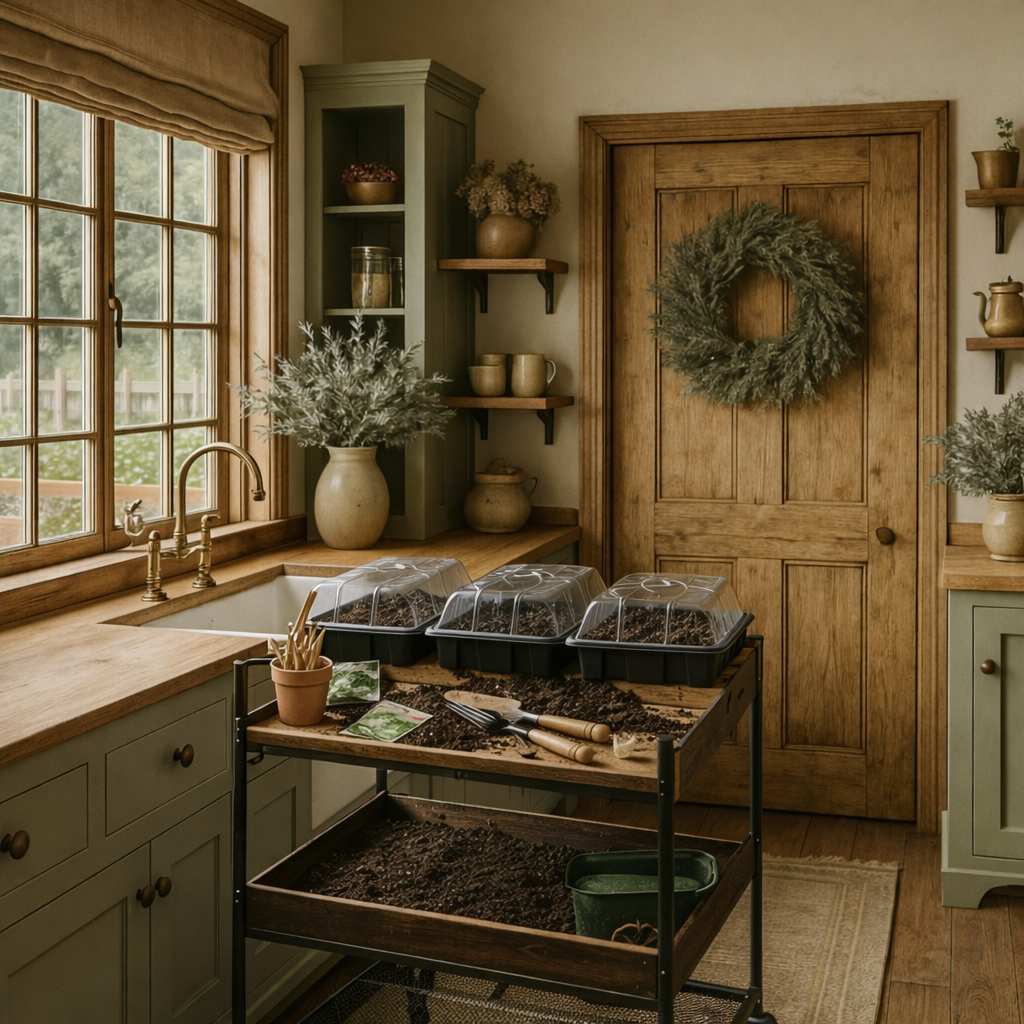
This post may contain affiliate links. As an Amazon Associate, I earn from qualifying purchases at no additional cost to you. I only share products I truly love or would use in my own home.
Planning Your Garden & Starting Seeds with Confidence
Gardening doesn’t begin in the soil — it begins with a plan.
Before the first seed is planted or the first bed is built, there’s an important (and often overlooked) stage that sets the tone for the entire season: planning your garden. This is where excitement meets intention — and where you can decide whether gardening will feel joyful… or overwhelming.
If you’re new to gardening, or even if you’ve been growing for a while, this first step matters more than you might think.
🌿 Why Choose Raised Beds?
Raised bed gardening is one of the most approachable and beginner-friendly ways to grow vegetables, especially when you start with a thoughtful plan and simple seed-starting process.
- The soil warms faster in spring, allowing you to plant earlier.
- You have full control over your soil mix, including compost, manure, and fertilizer.
- They help reduce weeds and make pest management easier. Laying landscape fabric at the bottom of the bed helps block weeds from growing up, while adding wire mesh underneath prevents critters from tunneling up and damaging plants.
- Raised beds are ideal for square foot gardening, making it easier to plan spacing and reduce waste.
- Raised beds help keep the garden tidy and organized, making it easier to care for throughout the season.
They create a defined, manageable growing space — which is incredibly helpful when you’re just getting started.
🧺 Plan What You’ll Actually Eat
One of the biggest mistakes new gardeners make (and one I’ve made myself) is planting too much.
Before buying seeds, ask yourself:
- What vegetables do we really enjoy eating?
- How often do we eat them?
- How many plants do we realistically need?
It’s easy to get excited and overbuy seeds and supplies. But when you plant too much, gardening can quickly turn from a joy into a chore.
I learned this the hard way one year with zucchini. I planted far too many plants, and my husband was so sick of zucchini that I had to get creative — baking zucchini bread, sneaking it into meals, and giving it away just to keep up. Lesson learned.
Start small. Quality seeds will give you better results, and any leftover seeds can be safely stored and used next year.
🌱 Pick Beginner-Friendly Plants
If you’re new to gardening, choosing the right plants can make all the difference.
Starting simple builds confidence — and confidence is everything in your first garden season.
Some vegetables are naturally more forgiving and grow reliably, making them great choices for beginners. If this is your first time gardening, consider starting with a few of these:
- Leafy greens (lettuce, spinach, kale)
- Tomatoes (cherry, grape, or compact bush varieties)
- Herbs (basil, thyme, parsley)
- Radishes (they grow fast and offer quick wins)
- Peas and beans (easy to grow and great for vertical space)
- Squash (zucchini and yellow squash are especially forgiving and productive)
- Marigolds (beautiful, beginner-friendly, and helpful for deterring pests)
You don’t need to grow everything on this list. Even choosing two or three beginner-friendly plants is enough to create a successful and enjoyable first season.
📐 Plan Your Garden Layout & Size
When planning a raised bed garden, you have two good options:
- Plan your beds based on the space available in your yard
or - Choose plants based on the space you already have
Either approach works — the key is being realistic.
Think about:
- How many beds fit comfortably in your yard
- How much sun the area receives
- How much time you can commit to caring for the garden
You can always add more beds in future seasons.
🌱 Starting Seeds: Indoors vs Direct Sowing
Not all seeds need to be started indoors.
Some vegetables prefer to be directly sown into garden soil, such as:
- Carrots
- Beets
- Radishes
- Peas
- Lettuce
Others benefit from an early indoor start, including:
- Tomatoes
- Peppers
- Broccoli
- Cauliflower
- Cabbage
- Many herbs
Knowing which seeds to start indoors — and when — depends on your growing zone.
🗺️ Understanding Growing Zones (Simply)
Growing zones, officially called USDA Plant Hardiness Zones, are based on average cold winter temperatures. They help gardeners understand:
- When to start seeds
- When it’s safe to plant outdoors
- Which plants will thrive in their climate
You can find your USDA growing zone by entering your zip code on the official USDA Plant Hardiness Zone Map. This small step makes a big difference and explains why gardening timelines vary from place to place.
🌞 Seed-Starting Supplies (Keep It Simple)
You don’t need a greenhouse or a fancy setup to start seeds successfully — but a few helpful tools can make the process easier and more reliable:
- Seed starting trays with vented lids
- Seed starter soil
- Grow lights
- Heat mats (optional but very helpful)
- Timers(if your lights aren’t built in)
Most of these supplies can be used year after year, making them a worthwhile investment if you plan to garden long-term. Once you have them, you’ll likely use the same trays, lights, and mats every season.
Tip: Don’t overbuy. Start with what you need for this season and add more as your garden grows.
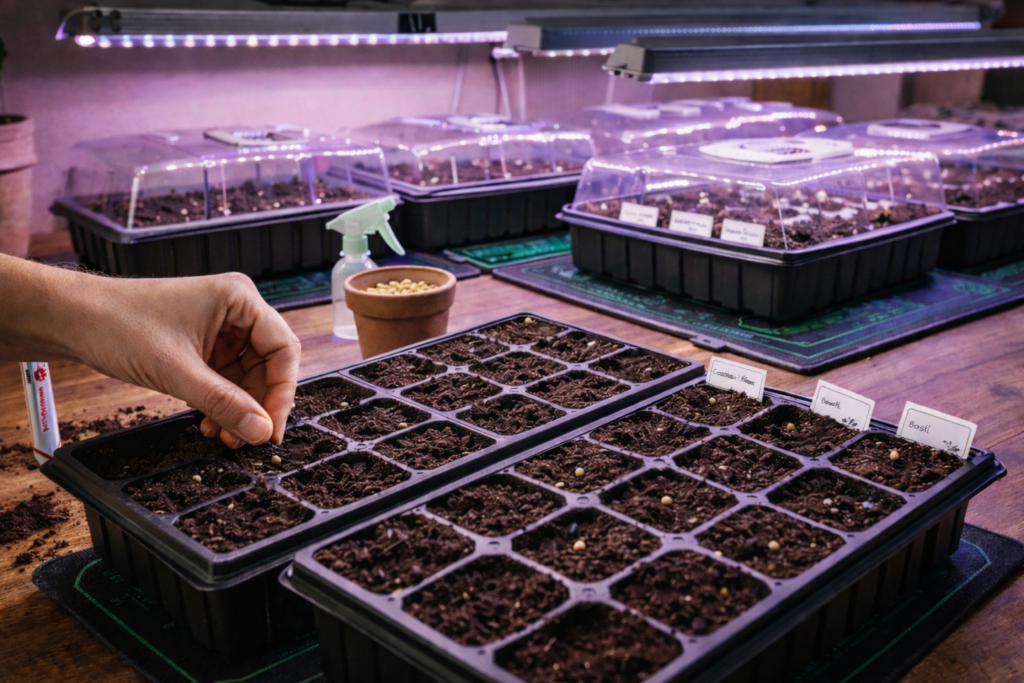
🌱 How I Start Seeds Indoors
Here’s my simple, repeatable method:
- Fill seed trays with seed-starting soil
- Lightly moisten soil (damp, not soaked)
- Plant two to three seeds per cell to improve germination
- Gently cover with a thin layer of soil
- Mist lightly before placing the lid on
- Close humidity vents to start
For most vegetables, planting 2–3 seeds per cell helps prevent empty spots if one seed doesn’t sprout. Once seedlings emerge, I thin them to the strongest plant.
Set heat mats to 60–70°F to warm the soil and encourage faster germination.
Use grow lights on a 14 hours on / 10 hours off schedule to promote strong, sturdy seedlings.
Keep soil from drying out, but avoid overwatering. And label everything — it’s surprisingly easy to forget what’s what.
Germination times vary, and sometimes seeds don’t sprout at all. That’s normal. It doesn’t mean you did anything wrong — sometimes a seed just isn’t viable.
Once seedlings emerge and develop a few leaves, open the vents to reduce humidity and prevent rot.
🌱 Thinning & Hardening Off (A Gentle Transition)
As your seedlings grow, there are two important steps that help them stay healthy and strong: thinning and hardening off.
Both happen a few weeks after planting and prepare your plants for life outdoors.
🌿 Thinning Seedlings: Giving Plants Room to Grow
After about 2–4 weeks, when seedlings are a few inches tall and have their first set of real leaves, you may notice that more than one plant has sprouted in the same cell or space.
This is completely normal.
Thinning simply means reducing overcrowding so each plant has enough room, light, and nutrients to grow well.
There are two gentle ways to thin seedlings — and both work:
Option 1: Snip and Remove (Simplest Method)
- Choose the healthiest-looking seedling
- Snip or pinch off the smaller ones at soil level
- Leave the strongest plant in place
This is the easiest method and works well for very delicate seedlings.
Option 2: Separate and Replant (My Preferred Method)
- Lightly moisten the soil first
- Gently loosen the seedlings
- Carefully separate the roots
- Replant extras into empty cells or small pots
This method allows you to save healthy seedlings and grow even more plants. It takes a little patience, but it’s a great option if you enjoy hands-on gardening.
If you’re new to thinning, don’t worry about doing it “perfectly.” Either method will help your plants grow stronger.
🌿 Hardening Off: A Gentle Transition Outdoors
Once seedlings are growing well and have several sets of leaves, it’s time to begin preparing them for outdoor conditions, usually 7-14 days before last frost date.
This process — called hardening off — involves slowly exposing plants to sunlight, wind, and temperature changes over one to two weeks, before they are planted in the garden beds.
Start by:
- Placing seedlings outside in a sheltered spot for a few hours
- Gradually increasing their time outdoors each day
- Bringing them inside at night at first
Even a small portable greenhouse can be incredibly helpful during this stage.
Hardening off helps prevent transplant shock and gives your plants the best chance of thriving once they’re planted in the garden.
We’ll go deeper into this process in Part 2 of this series.
🪴 Not Ready for Raised Beds? Try Containers
If you rent, don’t want to commit to permanent beds, or simply want to start small, container gardening is a wonderful option.
The planning, seed starting, and care you’ve learned so far all remain the same — whether you grow in raised beds, containers, or a mix of both.
Large pots work well for:
- Tomatoes
- Peppers
- Cucumbers
- Squash (compact or bush varieties)
- Bush beans
- Root vegetables (carrots, beets, radishes)
- Leafy greens (lettuce, spinach, kale, Swiss chard)
- Green onions / scallions
- Herbs
Containers do dry out faster and can tip in strong wind, but with proper watering and care, they’re an excellent way to begin gardening without a permanent setup.
That’s exactly how I started — with large pots of tomatoes, sweet and hot peppers, squash, and cucumbers. After seeing how well they did, I couldn’t wait to grow more. That’s when I upgraded to raised beds, and now I grow a wide variety of vegetables we enjoy fresh, preserve, and store for the off-season.
💚 A Gardening Mindset Worth Keeping
My garden is truly my happy place.
I love every part of the process — planning, seed starting, prepping beds, planting, mulching, watering, fertilizing, and yes… even dealing with pests and wildlife that sometimes treat my garden like a buffet.
There is no better feeling than watching your hard work turn into growth, flowers, and food.
Gardening isn’t instant. It teaches patience. It’s a learning experience, and even after years of growing, I’m still learning something new every season.
Plants may fail. Weather may not cooperate. Some things are simply out of our control.
And that’s okay.
Gardening is meant to be fun, relaxing, and expressive — not perfect.
It’s about progress over perfection.
🌿 What’s Coming Next
In Part 2 of this Raised Bed Gardening Series, we’ll focus on:
- Choosing the best garden location
- Setting up raised beds
- Preparing soil
- Hardening off seedlings (with or without a greenhouse)
Everything you need to be ready when planting time arrives.